
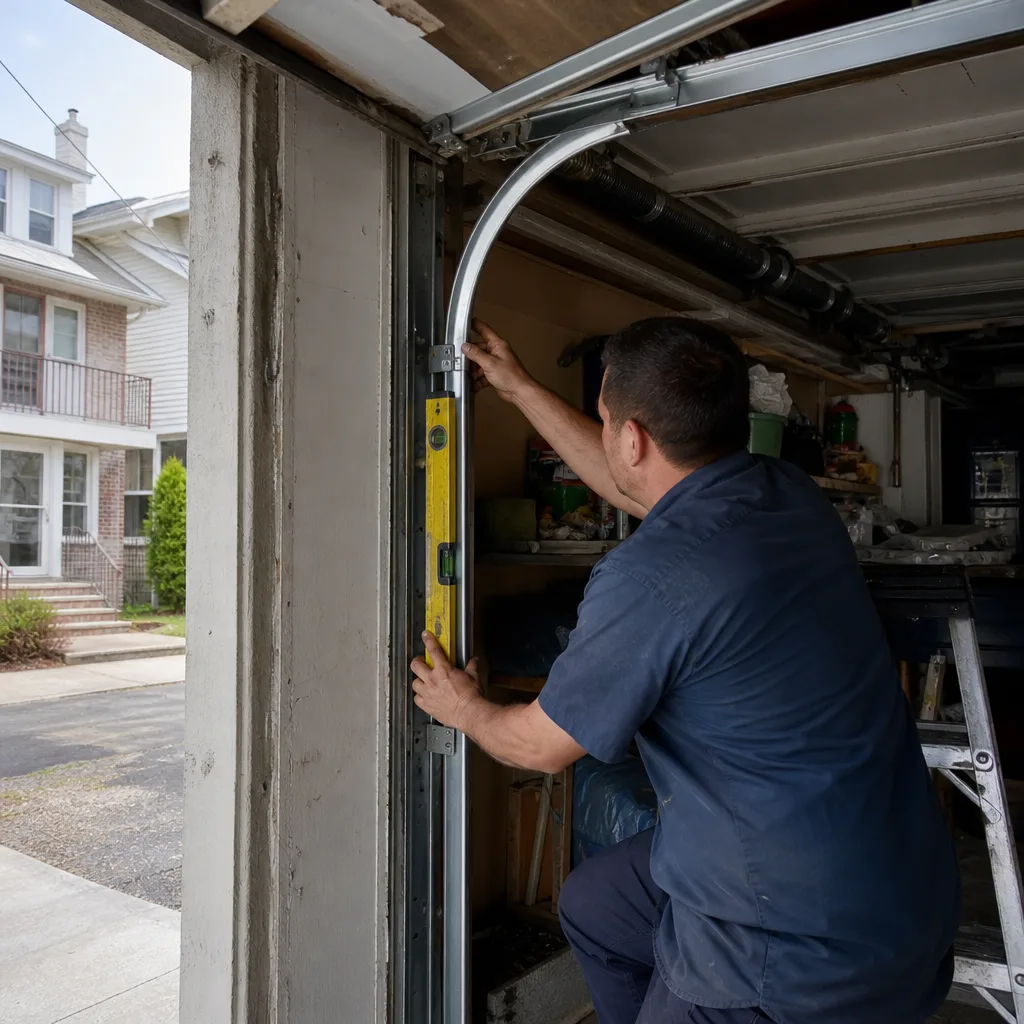
Last updated November 21, 2026
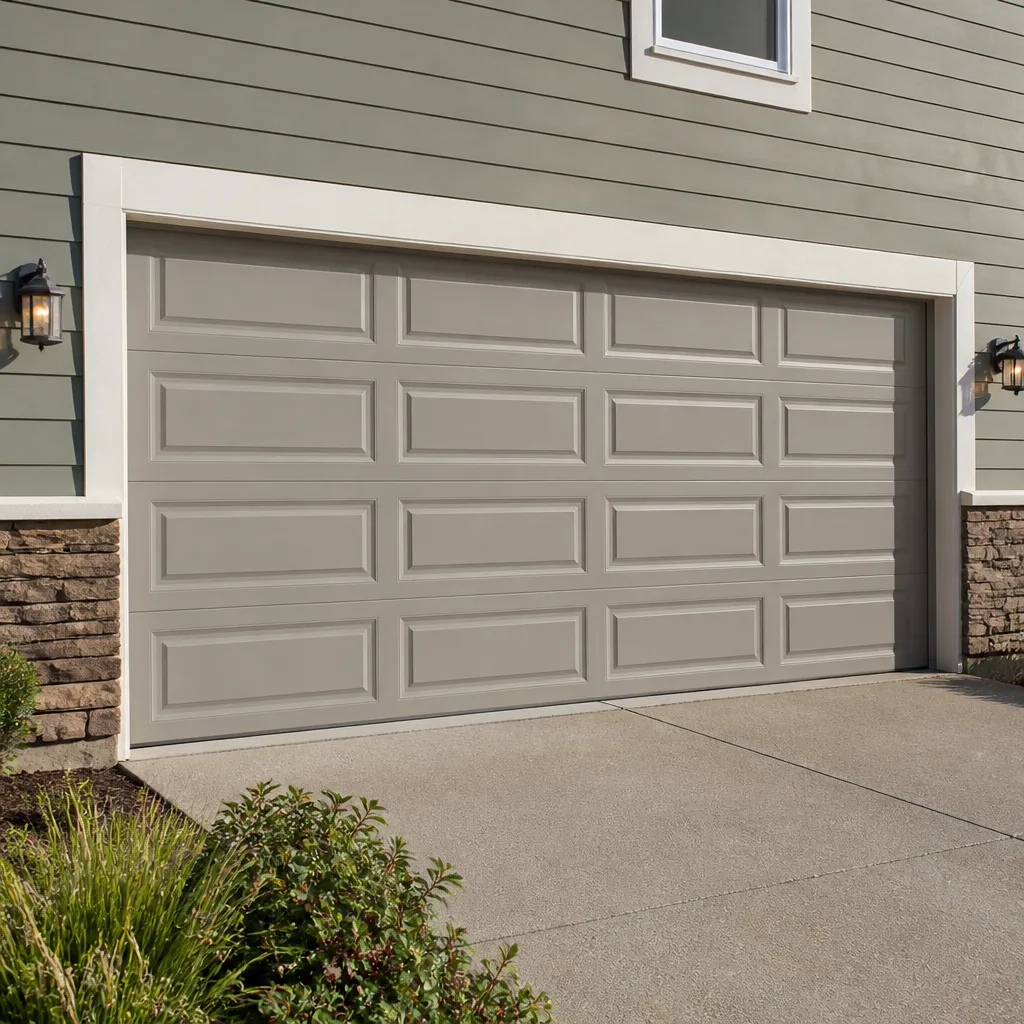 Raised-panel steel
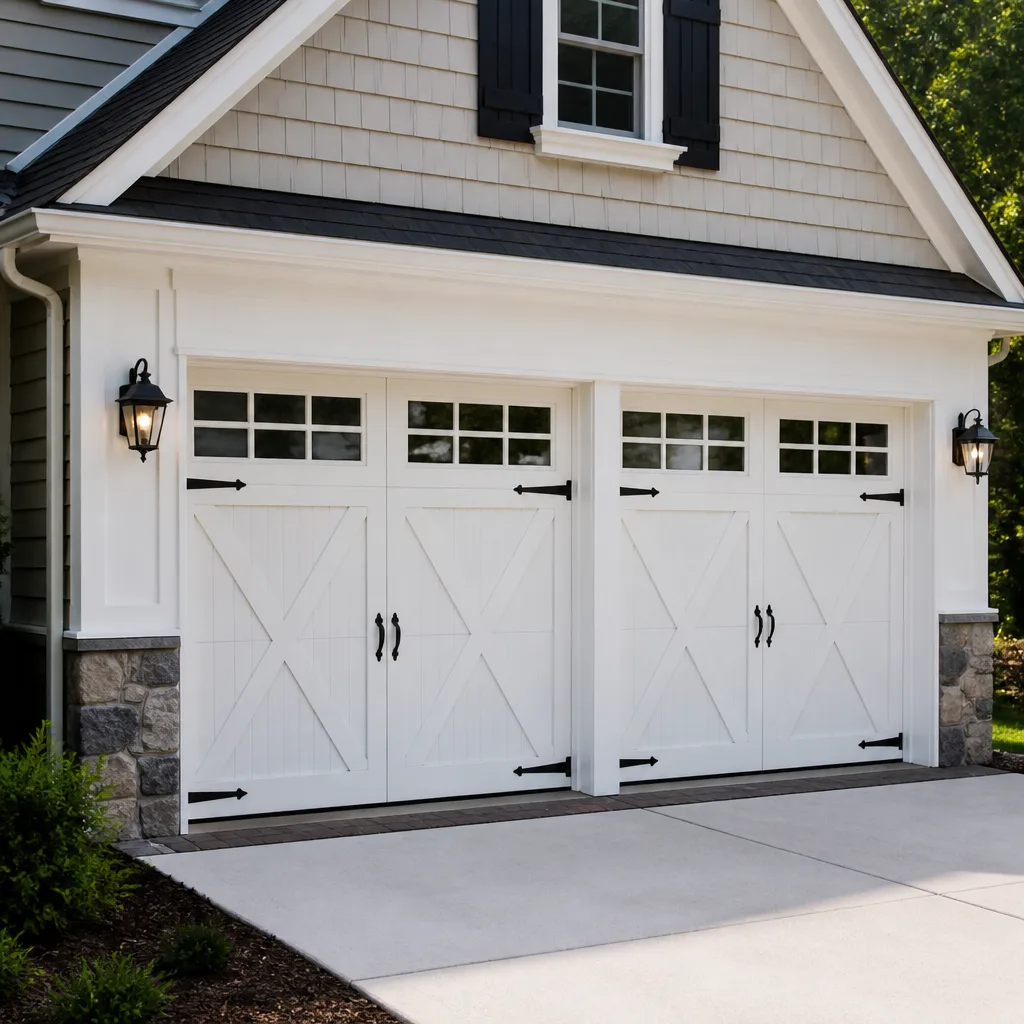 Carriage house
 Modern flush
 Full-view glass
 LiftMaster openers
 Chamberlain openers
Full 25-point door and opener safety check with every visit - springs, cables, rollers, tracks, and your LiftMaster or Chamberlain opener included
You get a price before we start. It does not change when the pro arrives.
Get your free estimateDIY vs Professional Garage Door: The Journal Square Homeowner’s Decision Guide
Most advice about garage door work splits the world into two useless camps: “never touch it, call a pro” and “YouTube can teach you anything.” Neither helps you make a decision. The real line runs through the middle of the door’s own components. A torsion spring stores enough energy to break bones when it releases wrong, and that’s not a liability disclaimer, it’s physics: a wound torsion spring carries the weight of the whole door under tension. But cleaning and lubricating rollers, pairing a new keypad, or setting the travel limits on a modern opener are well within reach for anyone who can follow a sequence. This guide sorts the actual jobs into three buckets, explains the mechanical reason behind each, and shows what a DIY mistake really costs. You’ll finish knowing exactly what to do yourself in Journal Square and what to hand off.
Quick Answer
In Journal Square, do the safe maintenance yourself (lubrication, keypad and remote pairing, travel-limit and force adjustment, visual inspections), approach track alignment and weather seals with caution, and never touch torsion springs, extension springs, cables, or the high-voltage side of the opener. A garage door is the heaviest moving object in most homes, and the parts that hold it up are the parts a homeowner should leave to a specialist. Everything below explains where that line sits and why.
Styles & brands we work with
- Raised-panel steel
- Carriage house
- Modern flush
- Full-view glass
- LiftMaster openers
- Chamberlain openers
Table of Contents
- The Three Categories Every Garage Door Task Falls Into
- Safe DIY: What You Can Genuinely Do Yourself
- The Tools That Separate a Homeowner’s Toolbox From a Technician’s Bag
- Professional-Only Work and the Physics That Explain Why
- How DIY Work Affects Your Door and Opener Warranty
- What a DIY Mistake Actually Costs to Fix
- The Middle Path: Prepare the Job, Cut the Billable Time
- Brand Matters: What We See Across LiftMaster, Chamberlain, Raynor, and More
- When to Call a Professional
- Frequently Asked Questions
- The Bottom Line
The Three Categories Every Garage Door Task Falls Into
Every garage door job you’ll ever face lands in one of three boxes: safe to do yourself, doable with caution, and professional-only. The sorting rule isn’t “how complicated does it look.” It’s two questions: does the task involve stored mechanical energy, and does a mistake put the door’s weight somewhere it wasn’t designed to go?
Here’s the full sort:
Category 1: Safe DIY
- Lubricating hinges, rollers, and the torsion or extension spring coils (with the right spray, not grease)
- Pairing a new remote or keypad
- Adjusting travel limits and down-force on a modern opener
- Replacing opener batteries and cleaning safety sensor lenses
- Cleaning and inspecting the door’s balance with the opener disconnected
- Replacing a cracked plastic roller (with the door fully open and the opener off)
Category 2: DIY With Caution
- Straightening a slightly bent track with the door down and the opener disconnected
- Replacing bottom weather seals and side gaskets
- Tightening the bracket hardware that secures the closer and opener arm
- Reconnecting or replacing safety sensors if the door still reverses properly afterward
Category 3: Professional-Only
- Any torsion spring replacement or tensioning
- Extension spring replacement
- Cable replacement, re-reeling, or re-clamping
- Panel replacement on a door under tension
- Opener logic board or capacitor replacement
- Any electrical work inside the opener or its wired wall control
- Replacing hinges or the bottom bracket on a door whose springs are still wound
If you remember nothing else from this guide, remember the line between the second and third boxes. Categories 1 and 2 are a homeowner’s territory. Category 3 belongs to a trained technician and to nobody else. When your door won’t move and you’re not sure which box the problem belongs in, that’s the moment to call a specialist rather than guess.
Safe DIY: What You Can Genuinely Do Yourself
A meaningful share of the service calls we take in Journal Square don’t need a technician’s hands at all. They need ten minutes and the right product. Knowing this saves you money and doesn’t cost you safety.
The annual lubrication routine
Garage doors get loud because metal meets metal without anything between. Once a season, spray a silicone-based or purpose-made garage door lubricant on the hinges, roller stems, and the spring coils. Not grease, and not WD-40’s original formula, which attracts grit. Check first, and only lubricate a spring that looks intact: a spring with visible gaps or a broken coil is silent evidence of stored energy and you should stop and call for a proper inspection.
Travel limits and down-force
Most openers, from LiftMaster and Chamberlain to Genie and Craftsman, adjust via the same basic sequence:
- Locate the limit and force adjustment screws or buttons on the opener housing (many modern units use an LCD panel and arrow buttons).
- Set the open limit first: the door should come up just short of the header stop.
- Set the close limit: the door should stop on the floor, with the bottom seal lightly compressed.
- Adjust down-force until a 2-by-4 laid flat on the floor causes the door to stop and reverse cleanly. Test it more than once.
- Confirm the safety sensors work by placing an object in the beam’s path and watching the door reverse.
This is exactly the kind of repair we’d rather a homeowner handled themselves. It’s a sequence-setting task that doesn’t involve the door’s weight or its springs.
Remote and keypad pairing
Pairing is a matter of pushing a button on the opener and one on the remote within a time window. The instruction manual for your opener model carries the exact sequence. It’s a fifteen-minute job and it doesn’t touch a single mechanical component.
Balance check
Disconnect the opener (usually a pull cord on the rail), lift the door halfway, and let go. A properly balanced door stays where you leave it. One that falls or rises on its own is out of balance and the cause is usually a spring. Don’t attempt the fix. Note the symptom and call for service.
If you’d rather not do any of this, we also handle routine tune-ups. But the tasks above genuinely belong to you if you want them.
The Tools That Separate a Homeowner’s Toolbox From a Technician’s Bag
The tool list for safe DIY work is ordinary and short. That’s the point. A homeowner’s toolbox and a technician’s bag are two different kits for two different jobs.
What you need for safe DIY
- A screwdriver set (Phillips and flathead)
- An adjustable wrench or socket set
- Silicone or purpose-made garage door lubricant
- A step ladder tall enough to reach the opener housing safely
- A flashlight for inspecting springs and cables
- A short length of 2-by-4 for testing down-force
- Your opener’s instruction manual, or its model number for looking up the online version
That’s it. None of these tools can injure you by releasing stored energy, because none of them are used near stored energy.
What a technician’s kit holds above the do-it-yourself level
- Winding bars – solid steel rods specifically sized to fit into the winding cone and hold spring tension while it’s released or set. Homeowners frequently substitute screwdrivers, and screwdrivers bend and slip.
- Cable clamps and vice grips – used to lock the door’s position while the springs are under tension so that a slip doesn’t send the door collapsing.
- A bracket brace and C-clamp – the required tools for holding the bottom bracket while cables are adjusted.
- A spring gauge – used to measure wire diameter so the replacement spring matches the original’s lifting capacity exactly. A near-match spring is a serious problem: it will either overpower the door or under-support it.
- Properly sized matched pairs – torsion springs are replaced in pairs for a reason; a new spring paired with an old one lifts unevenly and wears the new one out early.
What we consistently see in Journal Square when a homeowner has attempted a spring or cable repair: bent winding bars, gouged winding cones, and a door knocked off its track. The homeowner very often used the wrong substitute tool. The right tool doesn’t make a spring replacement safe for a non-specialist. It makes it possible for a trained one. That’s the whole point.
Professional-Only Work and the Physics That Explain Why
A torsion spring is a coil of steel wire that has been wound tight enough to hold up the entire weight of the door. That stored energy is released instantly when a spring snaps. The reason it’s so dangerous isn’t that the spring is sharp; it’s that the spring is the lifting mechanism, and once it fails, the door comes down. The energy that held the door up is now going somewhere, and that somewhere is not under your control.
Torsion springs last 7 to 10 years on average at normal use, less in a home with high cycles. When one fails, it’s a snap and a bang, and the door drops. Here’s the sequence a technician runs through when replacing one, which is the cleanest way to see the skill being asked for:
- Close the door and lock it out from the opener.
- Clamp the door’s position with vice grips on the track so it can’t drop or spring free.
- Insert winding bars into the cone; break the wound tension one controlled half-turn at a time.
- Remove the old spring, measure its inside diameter, wire gauge, and length to identify the replacement.
- Mount a matched pair on the center bearing plate and torsion bar.
- Wind the new springs the correct number of turns for the door’s height and weight.
- Reset the opener’s travel and force, then test the door’s balance and reverse function.
Note step 7. The work isn’t done when the spring is on. It’s done when the whole system works together, and that part takes knowing what “correctly” looks like when you feel it.
The same logic applies to cables. Cables run from the bottom bracket to the drum, and they’re under tension whenever the spring is. Touching a cable with the spring wound is touching a live system. What we’ve had to undo after a failed attempt includes a snapped cable drum and an off-track door that had to be reassembled from scratch. We treat this work as a core service rather than a reluctant add-on, because we’ve seen the consequences of it being treated as a side job.
And for the electrical side of the opener: logic boards, capacitors, and anything wired into a 120-volt household circuit is a job for a technician. This is also a genuine safety matter: live current doesn’t care that you’ve done plenty of home repairs before.
How DIY Work Affects Your Door and Opener Warranty
Warranties on garage doors are typically split between the door itself, the finish, and the hardware, and the terms don’t treat all three equally. Door manufacturers like Clopay, Amarr, and Wayne Dalton structure their coverage around parts, and the hardware on those doors is usually the shortest-lived coverage. Opener brands like LiftMaster and Chamberlain tend to cover their electronics but not the installation or the surrounding hardware.
What matters most for a homeowner is the damage clause, not the length of the term. A hinge replaced by a homeowner is an unapproved retrofit, and that can turn a future claim into a denial. A spring replaced by a homeowner who got the wire gauge wrong can stress the door’s hinge plates and bearings, and the resulting damage isn’t covered. These policies aren’t hostile to homeowners; they’re structured like any mechanical warranty, and the structure is built around the notion that approved work was done by a professional.
For a homeowner in Journal Square, that creates a practical rule: anything you do yourself in Category 1 and 2 is very unlikely to void anything. Anything in Category 3 could. When we do a spring or cable repair, we tell you exactly what was replaced so the paper trail is clean.
What we see frequently: the original warranty paperwork on doors installed in Journal Square is rarely kept. If you have the door’s model and serial number, save it. If you don’t, note the model name on the door panel itself. That information is worth a lot when you need coverage or a replacement.
What a DIY Mistake Actually Costs to Fix
A proper spring replacement by a specialist costs less than a botched repair nearly every time. The comparison is not close, and it’s the strongest argument for the professional bucket.
Consider what each mistake typically requires to fix:
Bent winding bar, wrong turns, or partially wound spring
The technician has to correct the tensioning before starting the job, which may involve removing the spring and reinstalling. Because the risk during this correction is high, technicians take their time.
Cable slipped off the drum
Both cables are usually replaced, the drum inspected, and the door re-tensioned and re-leveled. Because the door has likely shifted, the tracks are inspected for alignment. That is a larger job.
Door knocked off its track
Tracks, hinges, panels, and possibly the bottom bracket are on the list. A door that has landed hard may also need the opener re-tuned. You now have multiple systems to fix.
A wrongly-sized spring
This is often caught by the technician after the door won’t stay up or won’t close, and the spring has to come off again. Two spring jobs instead of one.
Opener wiring damaged
Logic board replacement or a wiring harness rebuild on the opener. That’s the electronics package, not the mechanical one.
If you compare this against the cost of a professional spring replacement, the calculation is stark. A spring is a single predictable job with a fixed price. A botched attempt is a variable job whose price depends on how much of the surrounding system was damaged. In our experience, homeowners who attempt spring work and fail pay more than they would have for the original repair, plus the lost time and the days the car sat in the driveway.
If you’d like a clear quote for any of the tasks in Category 3, our garage door repair service stops at your address and prices the job before any work starts.
The Middle Path: Prepare the Job, Cut the Billable Time
You don’t have to choose between doing everything and doing nothing. There’s a middle path where you prepare the work, which shortens the technician’s job and sometimes the bill, without touching anything dangerous.
What you can do to prepare:
- Clear the driveway in front of the door and the area around the door inside the garage. A technician shouldn’t spend time moving boxes.
- Locate the door’s model and serial number, usually on a sticker on the bottom section or near the hinge at the bottom corner. Have it ready.
- Test and write down the symptoms. Does the door stall at the same height every time? Does the motor run but the door doesn’t move? Does the door close partway and reverse? The specific symptom is the fastest diagnostic path we have.
- Disconnect the opener (the pull cord on the rail) and check whether the door is balanced when lifted manually. Note what it does.
- Gather any warranty paperwork you have on file.
- Clean the track of debris if the door has been off-line for a while.
- Note the time of day the failure occurred and if any sound preceded it. A loud bang before the door stopped usually means spring; silence and an unresponsive motor usually means opener.
None of these steps involve the spring, the cable, or the opener’s electrical side. They’re the difference between a technician arriving and having to spend time on discovery versus arriving and starting on the repair. For a stickier issue like an opener that won’t pair or a door that behaves differently on cold mornings, good notes can turn a diagnostic visit into a straightforward repair.
If the whole thing has been on your list for a while and you’d rather just hear a plan and a number, garage door opener repair is where most of these cases start, because the opener is usually the first component to show a real fault.
Brand Matters: What We See Across LiftMaster, Chamberlain, Raynor, and More
Your decision on what to try yourself shifts depending on what you actually own. An opener from one manufacturer uses different force-adjust controls from another, and a door from one manufacturer may be built around hardware that tolerates adjustment better than another’s.
We work on LiftMaster, Chamberlain, Genie, Clopay, Amarr, Wayne Dalton, Craftsman, and Raynor. That coverage matters for the DIY vs professional question in two ways. First, it means we’ve seen how each brand’s opener and door systems actually fail and can tell you honestly which failures are user-serviceable and which aren’t. Second, it means there’s no pressure to change what you own. The same door, the right fix.
A few observations from what we see in Journal Square:
- LiftMaster and Chamberlain – the modern MyQ-connected units have clear force-adjust controls and generally good homeowner manuals. The electrical faults inside these units, however, are professional territory.
- Craftsman – older Craftsman openers are still everywhere in Journal Square, and many of the remotes are no longer being made. Pairing an aftermarket remote is doable yourself with the right part number.
- Raynor – these doors often hold up well. The torsion springs on Raynor doors still age out on the normal schedule, so they belong on the professional list anyway.
- Wayne Dalton – these doors frequently use extension springs rather than torsion, which changes the mechanic but not the risk. Extension springs belong in Category 3 without exception.
When you know the brand and the model, the “can I do this myself” question gets much more specific. If you’re not sure what you have, we can identify it on-site.
If the diagnosis points to a full replacement rather than a repair, garage door installation is the next step and always involves a measure and a written quote rather than a same-day field decision.
Common Mistakes to Avoid
- Substituting a screwdriver for a winding bar. The screwdriver will bend under spring tension and then slip. Winding bars are solid steel for a reason. This is the single most common cause of a DIY spring injury.
- Replacing one torsion spring of a pair. The other spring has the same age and the same cycles behind it and will fail on its own soon after. The job has to be redone. Replace both.
- Using grease instead of a proper garage door lubricant. Grease holds grit and accelerates wear. A purpose-made silicone spray or one meant for garage doors is the right tool.
- Adjusting down-force to force a binding door to close. If the door struggles, there’s a mechanical problem. Increasing force lets the motor overpower the problem, which wears out the opener and hides a real danger point. Fix the cause instead.
- Touching the cables with the springs wound. The cables are under tension anytime the springs are. A slipped cable with the spring wound can send the door or the cable through a wall. Leave it alone.
- Assuming a loud noise means the motor. The loudest garage door noise is often the door itself, not the opener: metal-on-metal rollers, hinges, or a failing spring. A technician identifies the source in minutes.
- Ignoring a door that’s off-track “just a little.” A door off its track puts sideways stress on the panels and hinges. In Journal Square, older brick townhouses and two-family houses with tight garage bays have less margin for a misaligned door than newer construction, and a slight off-track problem has less room before the door drops.
When to Call a Professional
Call a professional when the task is a spring or cable repair, when the door is off its track, when the opener shows an electrical fault, or when you’ve tried a safe fix and the problem persists. Also call if the door isn’t balanced when lifted manually, if you hear a snapping or popping noise, or if the door reverses partway down and won’t stay closed. In those cases, a trained hand is faster and safer than a repeated attempt. Garage Door Repair Journal Square offers free estimates in Journal Square. Call (833) 968-6578. We answer 24/7, with fast dispatch from 7am to 7pm, Sunday through Friday. Our technicians have up to 8 years of experience and work on the major brands, so the diagnosis is accurate on the first visit.
Frequently Asked Questions
No. A torsion spring holds the full weight of the door under extreme tension, and releasing it without proper winding bars and clamping technique is a genuine risk of serious injury. Extension springs carry the same stored energy. This is a job for a trained professional in Journal Square and anywhere else. A repair specialist can replace both springs and re-tension the door on the same visit. Call (833) 968-6578 for a free estimate.
Lubricating hinges, rollers, and springs; pairing a remote or keypad; adjusting travel limits and down-force on the opener; cleaning safety sensor lenses; and doing a balance check. All of those are within reach for anyone comfortable with a screwdriver and a manual. Anything involving the springs, the cables, a full off-track door, or the opener’s electrical side belongs to a technician.
It depends on the manufacturer and what you touch. A homeowner who lubricates or pairs a remote isn’t going to void anything. A homeowner who replaces a hinge, a spring, or a cable without professional approval can turn a later warranty claim into a denial. Check the door manufacturer’s hardware coverage before you start, and check your opener’s manual for what it says about unapproved service. When in doubt, ask before you open the toolbox.
Spring repair in the Journal Square market typically falls in a low-to-mid hundreds range for one spring, with a matched pair costing more. The written quote will set the final price before any work starts, and the estimate is free. Call (833) 968-6578 for a quote on your specific door and spring.
Often, yes. Same-day service is available for opener repairs, broken springs, and doors that have come off their track. Call (833) 968-6578 to check availability. A local dispatcher handles the call and arranges the visit. We answer 24/7. A call outside dispatch hours is booked into the next opening, Sunday through Friday, 7am to 7pm.
A botched spring repair almost always costs more than a proper repair. The damaged winding cone, a bent hinge, or an off-track door usually turns one job into two or three, and the second visit is what adds up. A professional repair is a single predictable job. In our experience, homeowners who start a spring replacement and stop will pay more overall than if they’d called a specialist from the beginning.
The Bottom Line
The DIY vs professional question for a Journal Square homeowner comes down to stored energy. Springs and cables carry it; the rest of the door doesn’t. Lubrication, remote pairing, travel-limit adjustment, and visual inspection are yours to handle. Winding bars, matched pairs, and the physics of a wound spring belong to a trained technician. Do the safe work yourself, prepare the job well when you call, and treat Category 3 as a firm line. Garage Door Repair Journal Square works on Wayne Dalton, Craftsman, Raynor, LiftMaster, and more, and the same door gets the right fix. Call (833) 968-6578 for a free estimate.
Garage Door Repair Journal Square – one specialty, every garage door need.
Written by the team at Garage Door Repair Journal Square.
See the difference
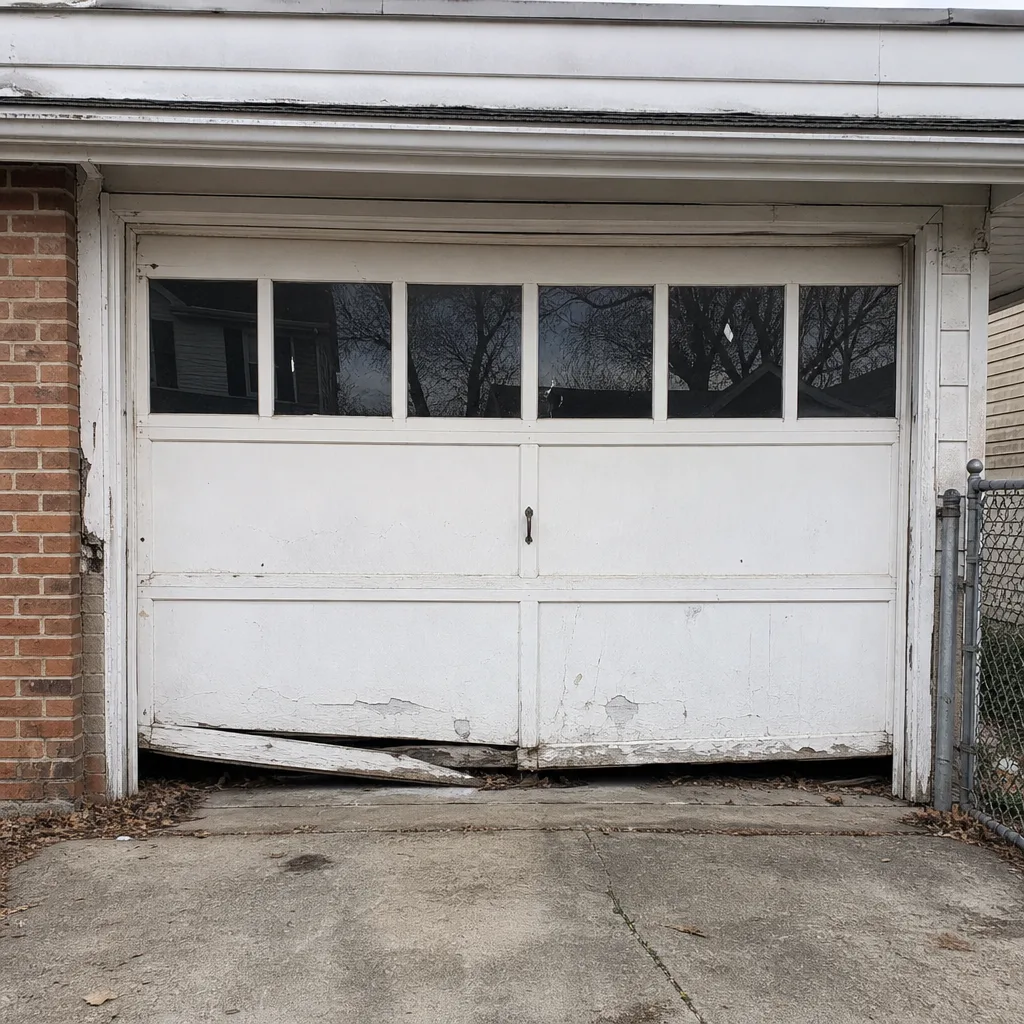 Before
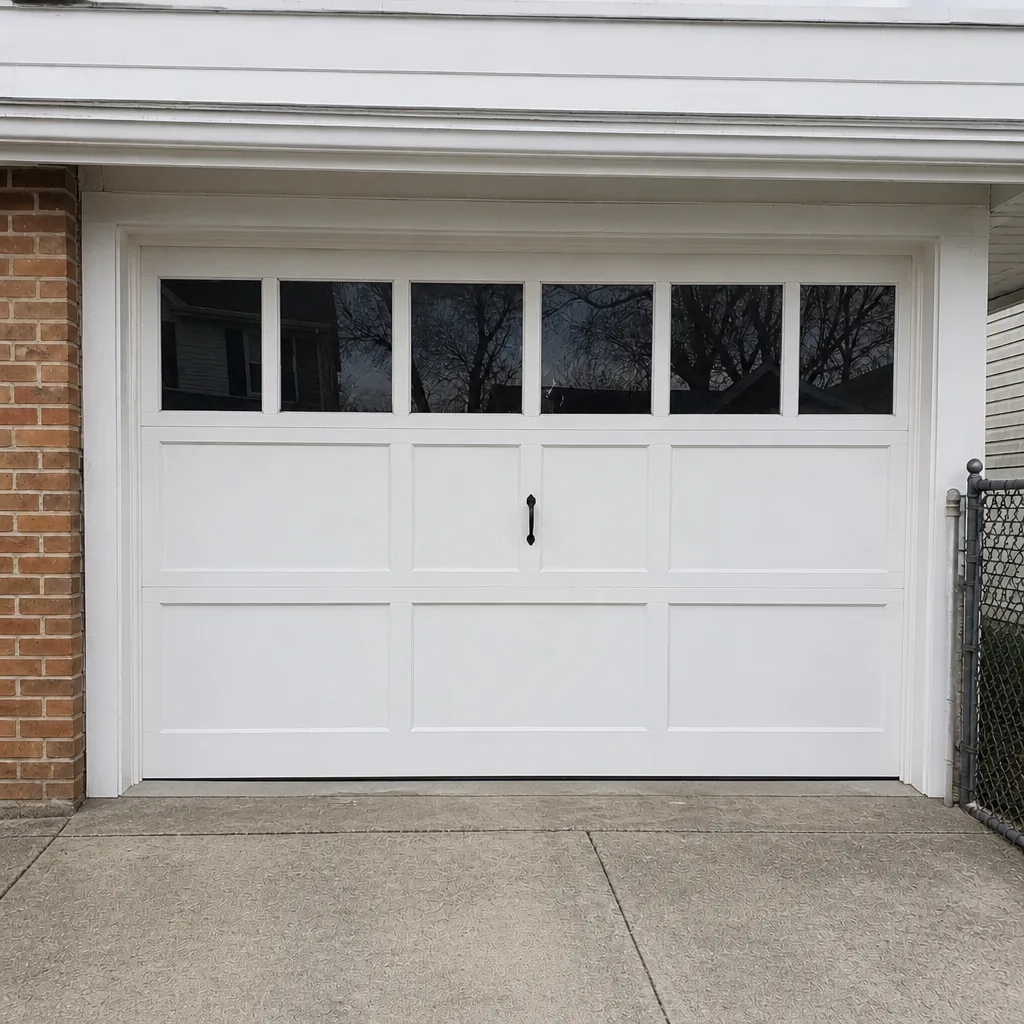 After
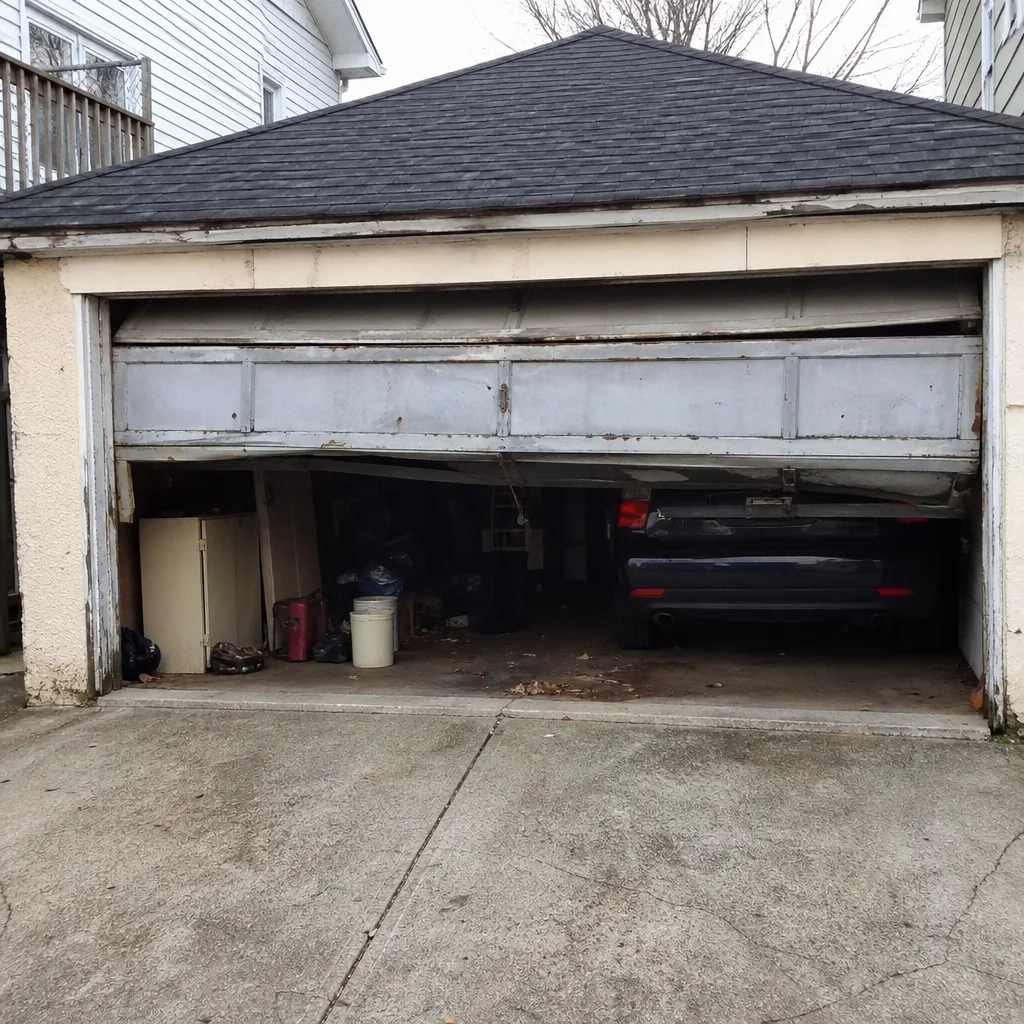 Before
 After
 Before
 After